Prefect Newsletter
Blog
Prefect Product
Product updates: incident management, managed compute, and much more
January 23, 2024


Engineering
Dockerizing Your Python Applications: How To
April 2024

Engineering
Data Validation with Pydantic
April 2024
Workflow Orchestration
Glue Code: How to Implement & Manage at Scale
April 2024
Workflow Orchestration
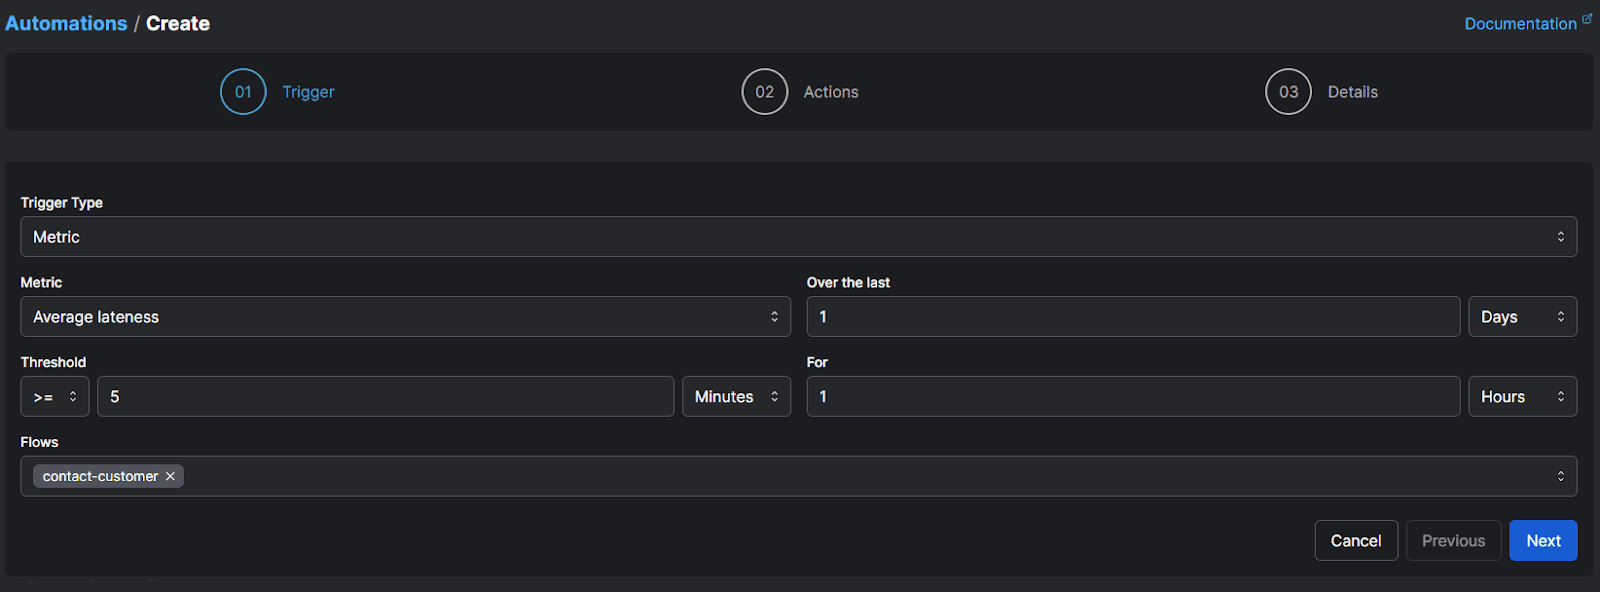
Observability Metrics: Put Your Log Data to Use
March 2024

Workflow Orchestration
Data Pipeline Monitoring: Best Practices for Full Observability
March 2024

Engineering
Pydantic Enums: An Introduction
March 2024

Prefect Product
Orchestrating dbt on Snowflake with Prefect
February 2024
Workflow Orchestration
Workflow Observability: Finding and Resolving Failures Fast
February 2024

Engineering
What is Pydantic? Validating Data in Python
February 2024
Workflow Orchestration
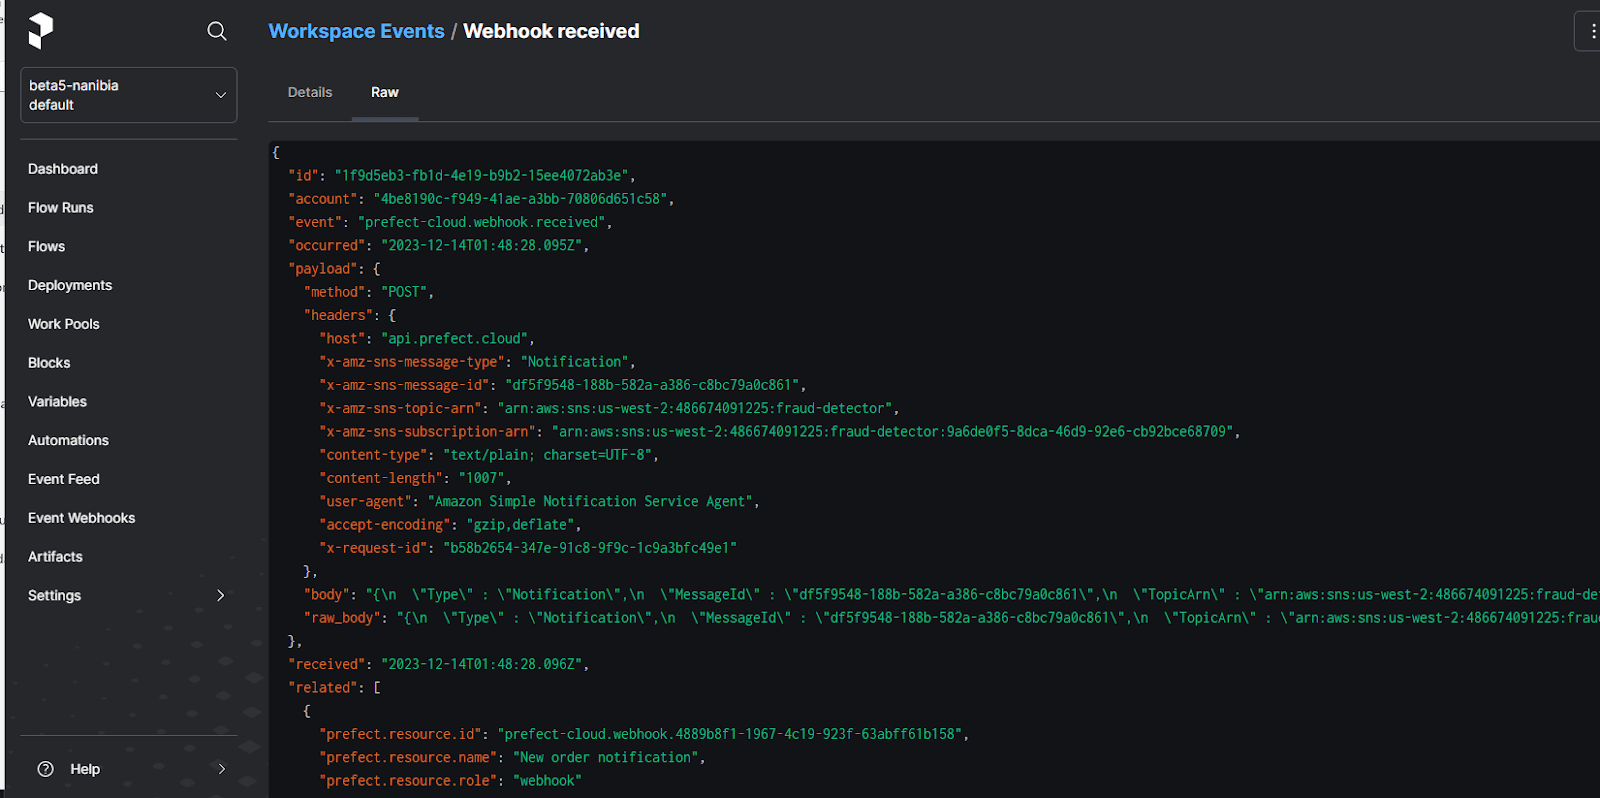
Event-Driven Versus Scheduled Data Pipelines
February 2024

Press
How Jeremiah Lowin Turned a Life-Long Question Into an Industry-Leading Startup Based in D.C.
February 2024

Prefect Product
Unveiling Interactive Workflows
January 2024
Workflow Orchestration
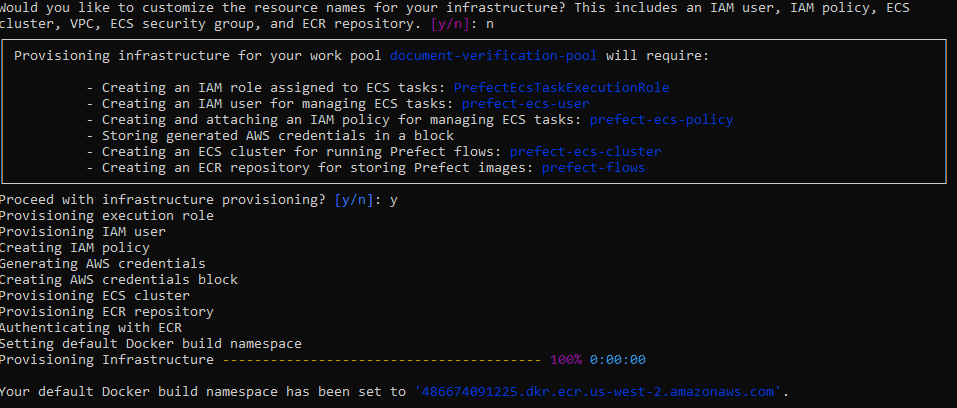
Scalable Microservices Orchestration with Prefect and Docker
January 2024

Prefect Product
Schedule Python Scripts
January 2024
Prefect Product
Reducing the Workflow Hangover in 2023
January 2024

Workflow Orchestration
Orchestrating Event Driven Serverless Data Pipelines
January 2024
Workflow Orchestration
Why You Need an Observability Platform
December 2023

Workflow Orchestration
Successfully Deploying a Task Queue
December 2023

Prefect Product
Building an Application with Hashboard and Prefect
November 2023

Workflow Orchestration
A platform approach to workflow orchestration
November 2023

Case Studies
Building a HIPAA compliant self-serve data platform
November 2023
Prefect Product
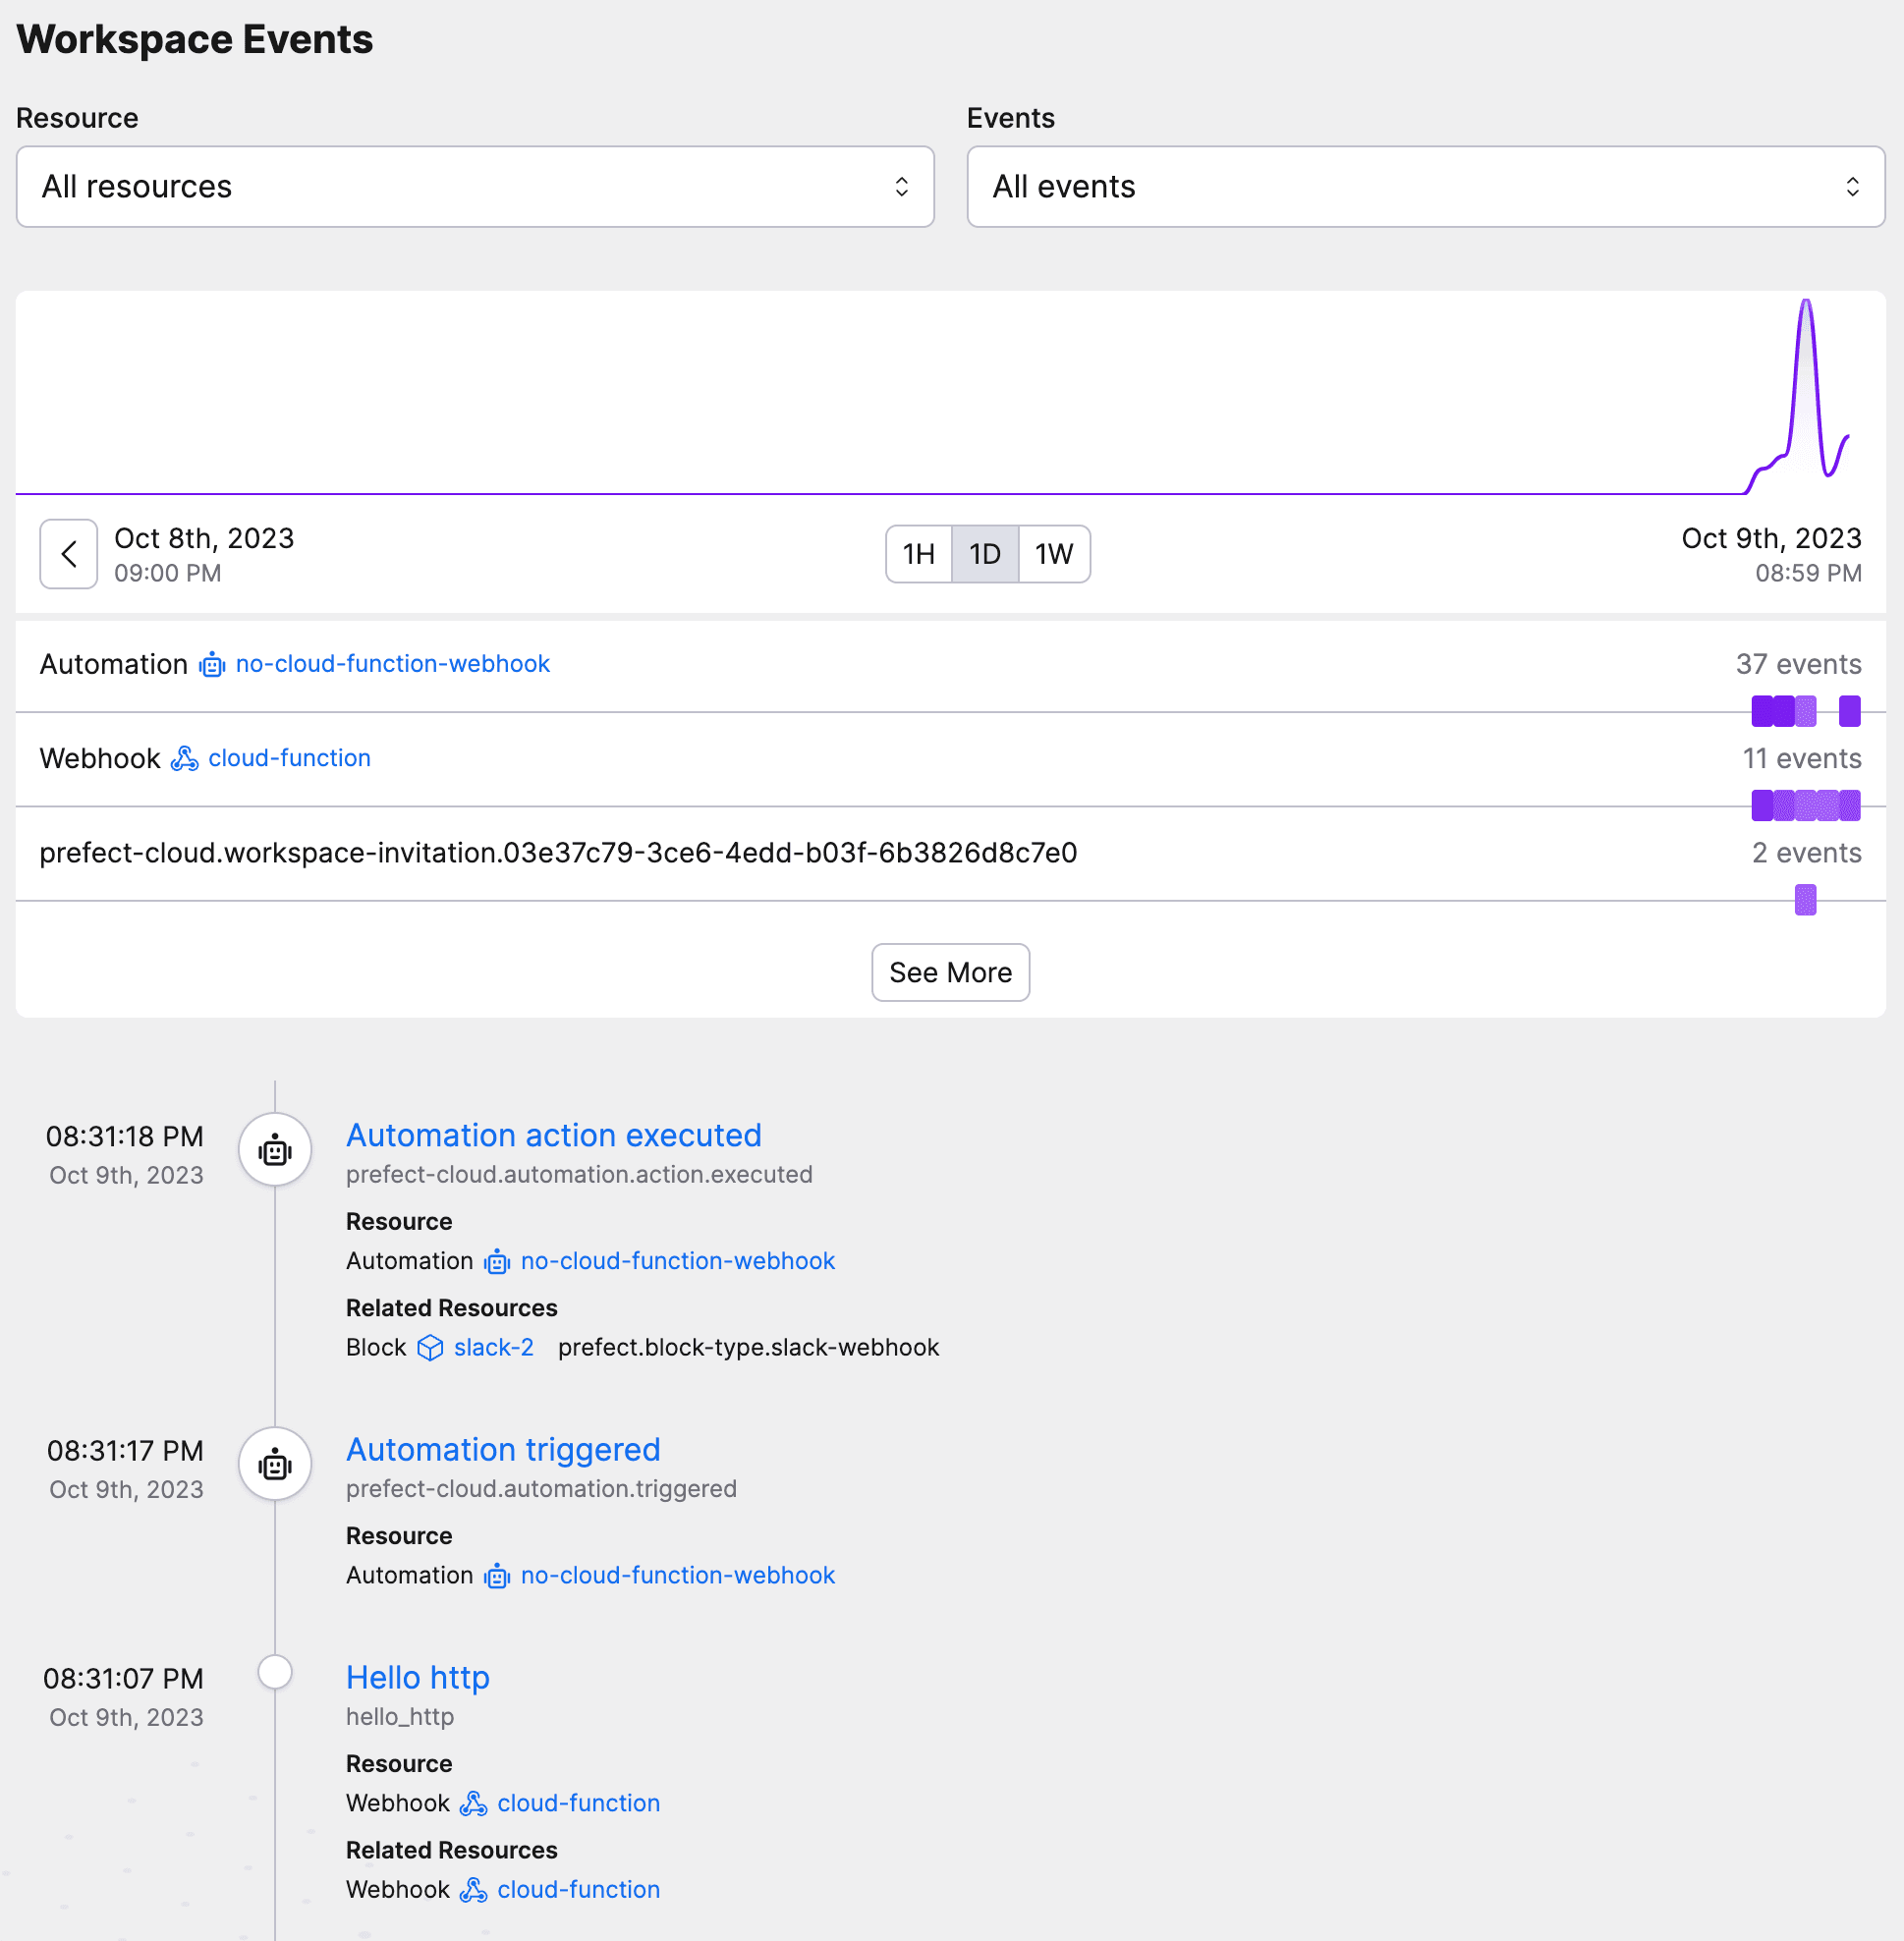
Monitoring Serverless Functions: A Tutorial
November 2023
Prefect Product
Introducing access controls and team management
November 2023

Engineering
Database Partitioning Best Practices
November 2023
Engineering
Building resilient data pipelines in minutes
October 2023

Workflow Orchestration
When to Run Python on Serverless Architecture
October 2023

Prefect Product
dbt and Prefect: A quick tutorial
October 2023
Case Studies
Austin FC Scores Big with Data: A Strategic Play with Prefect
October 2023
Prefect Product
Introducing Error Summaries by Marvin AI
September 2023

Case Studies
Rec Room: From Workflow Chaos to Orchestrated Bliss
September 2023

Workflow Orchestration
The Implications of Scaling Airflow
September 2023

Workflow Orchestration
Data is Mail, Not Water
September 2023

Prefect Product
Schedule your Python code quickly with .serve()
September 2023
Prefect Product
Automatically Respond to GitHub Issues with Prefect and Marvin
September 2023
Workflow Orchestration
What is a Data Pipeline?
September 2023

Workflow Orchestration
No Flow is an Island
August 2023

Prefect Product
Glue it all together with Prefect
August 2023

Workflow Orchestration
You Probably Don’t Need a DAG
August 2023

Workflow Orchestration
An Introduction to Workflow Orchestration
August 2023

Case Studies
Crumbl and Prefect: A Five Star Recipe
July 2023
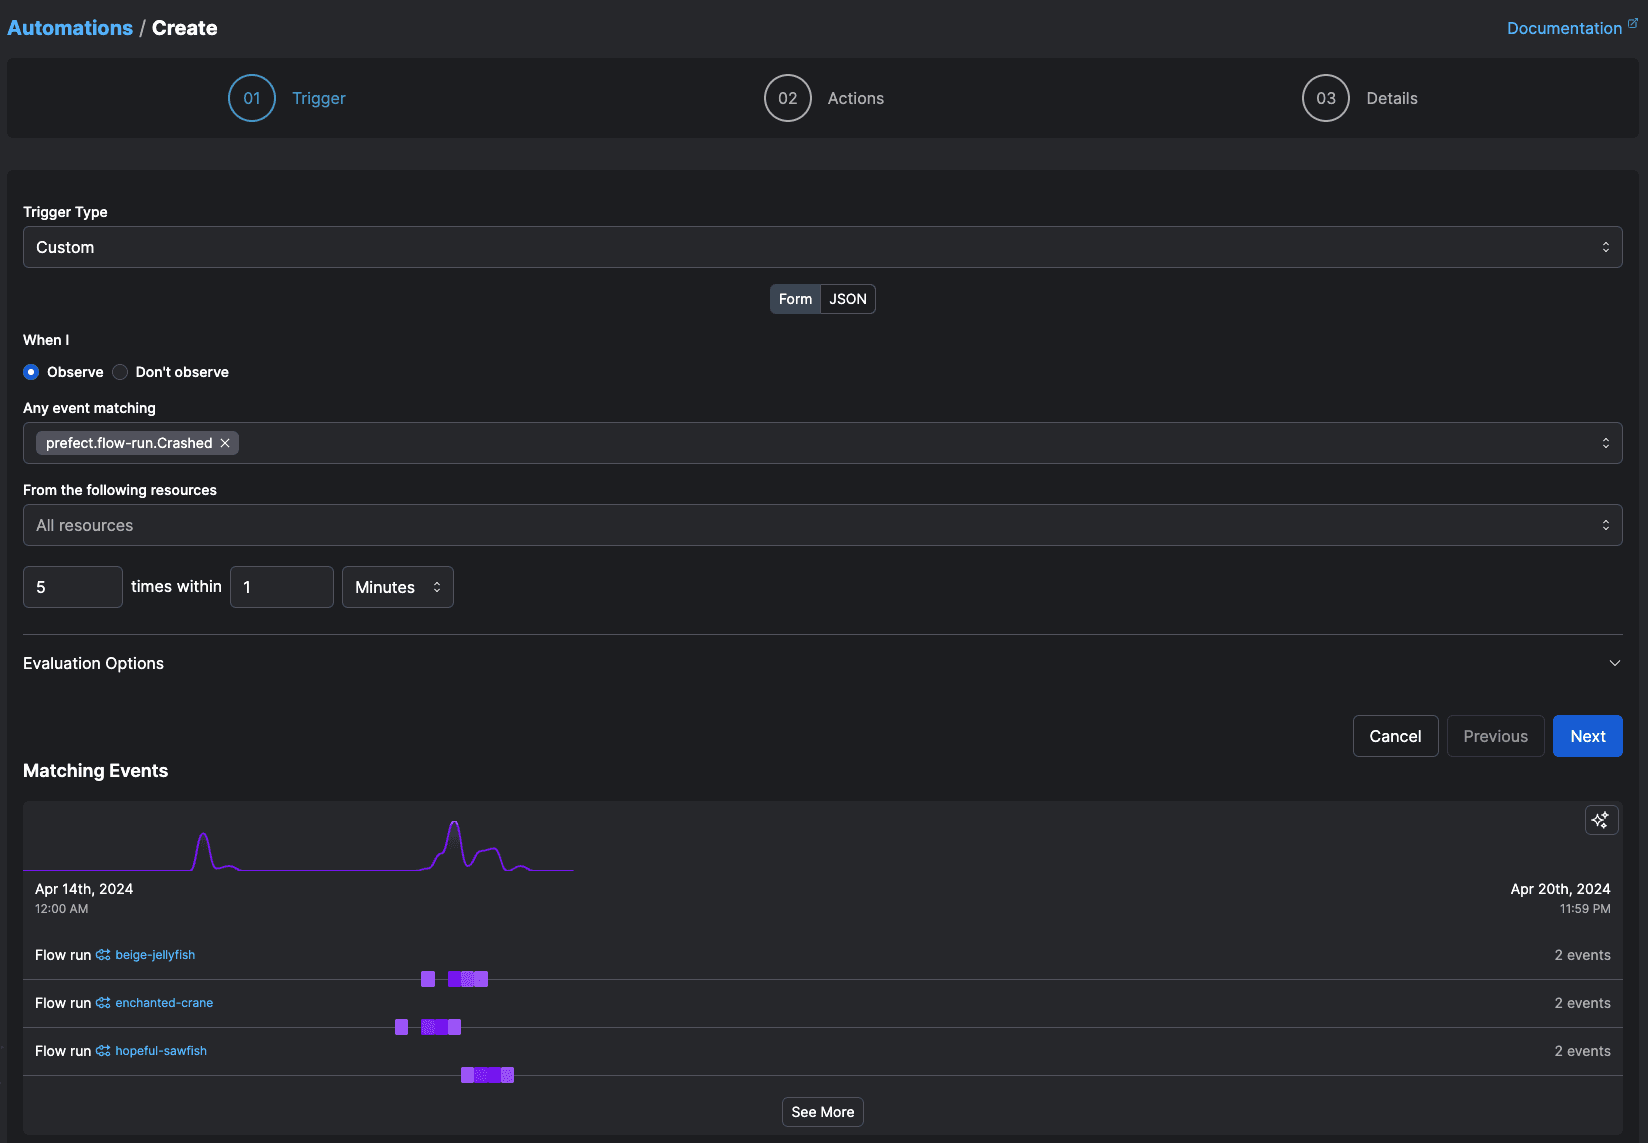
Prefect Product
Beyond Scheduling
July 2023
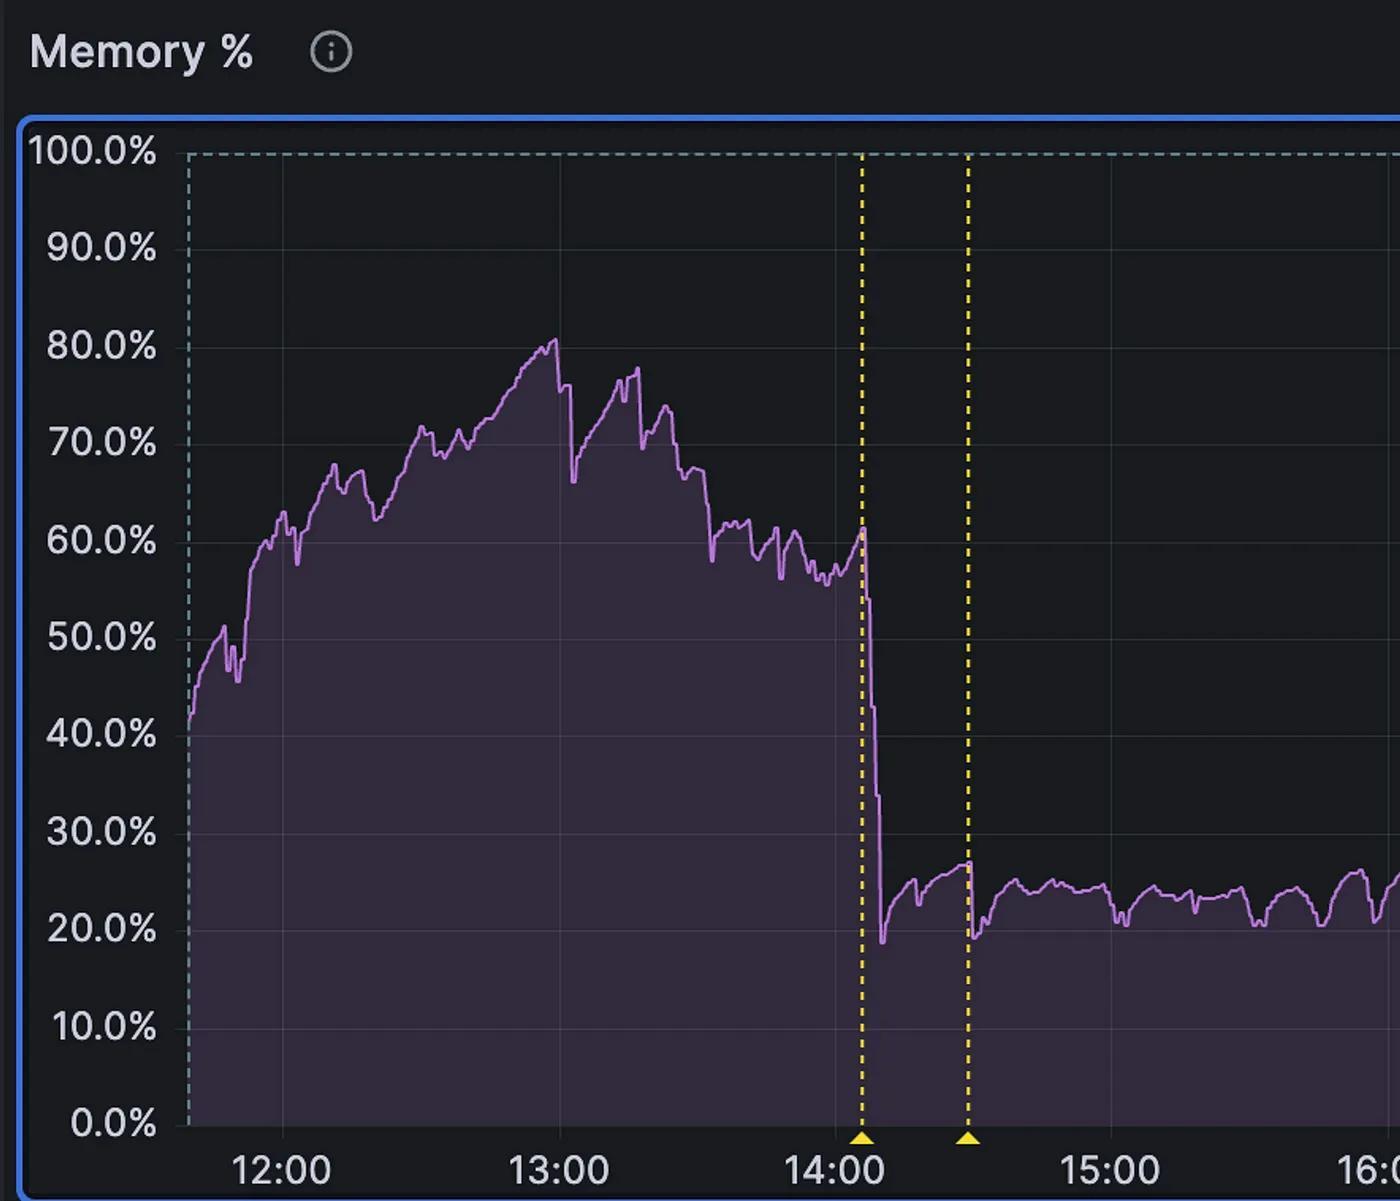
Engineering
More Memory, More Problems
May 2023
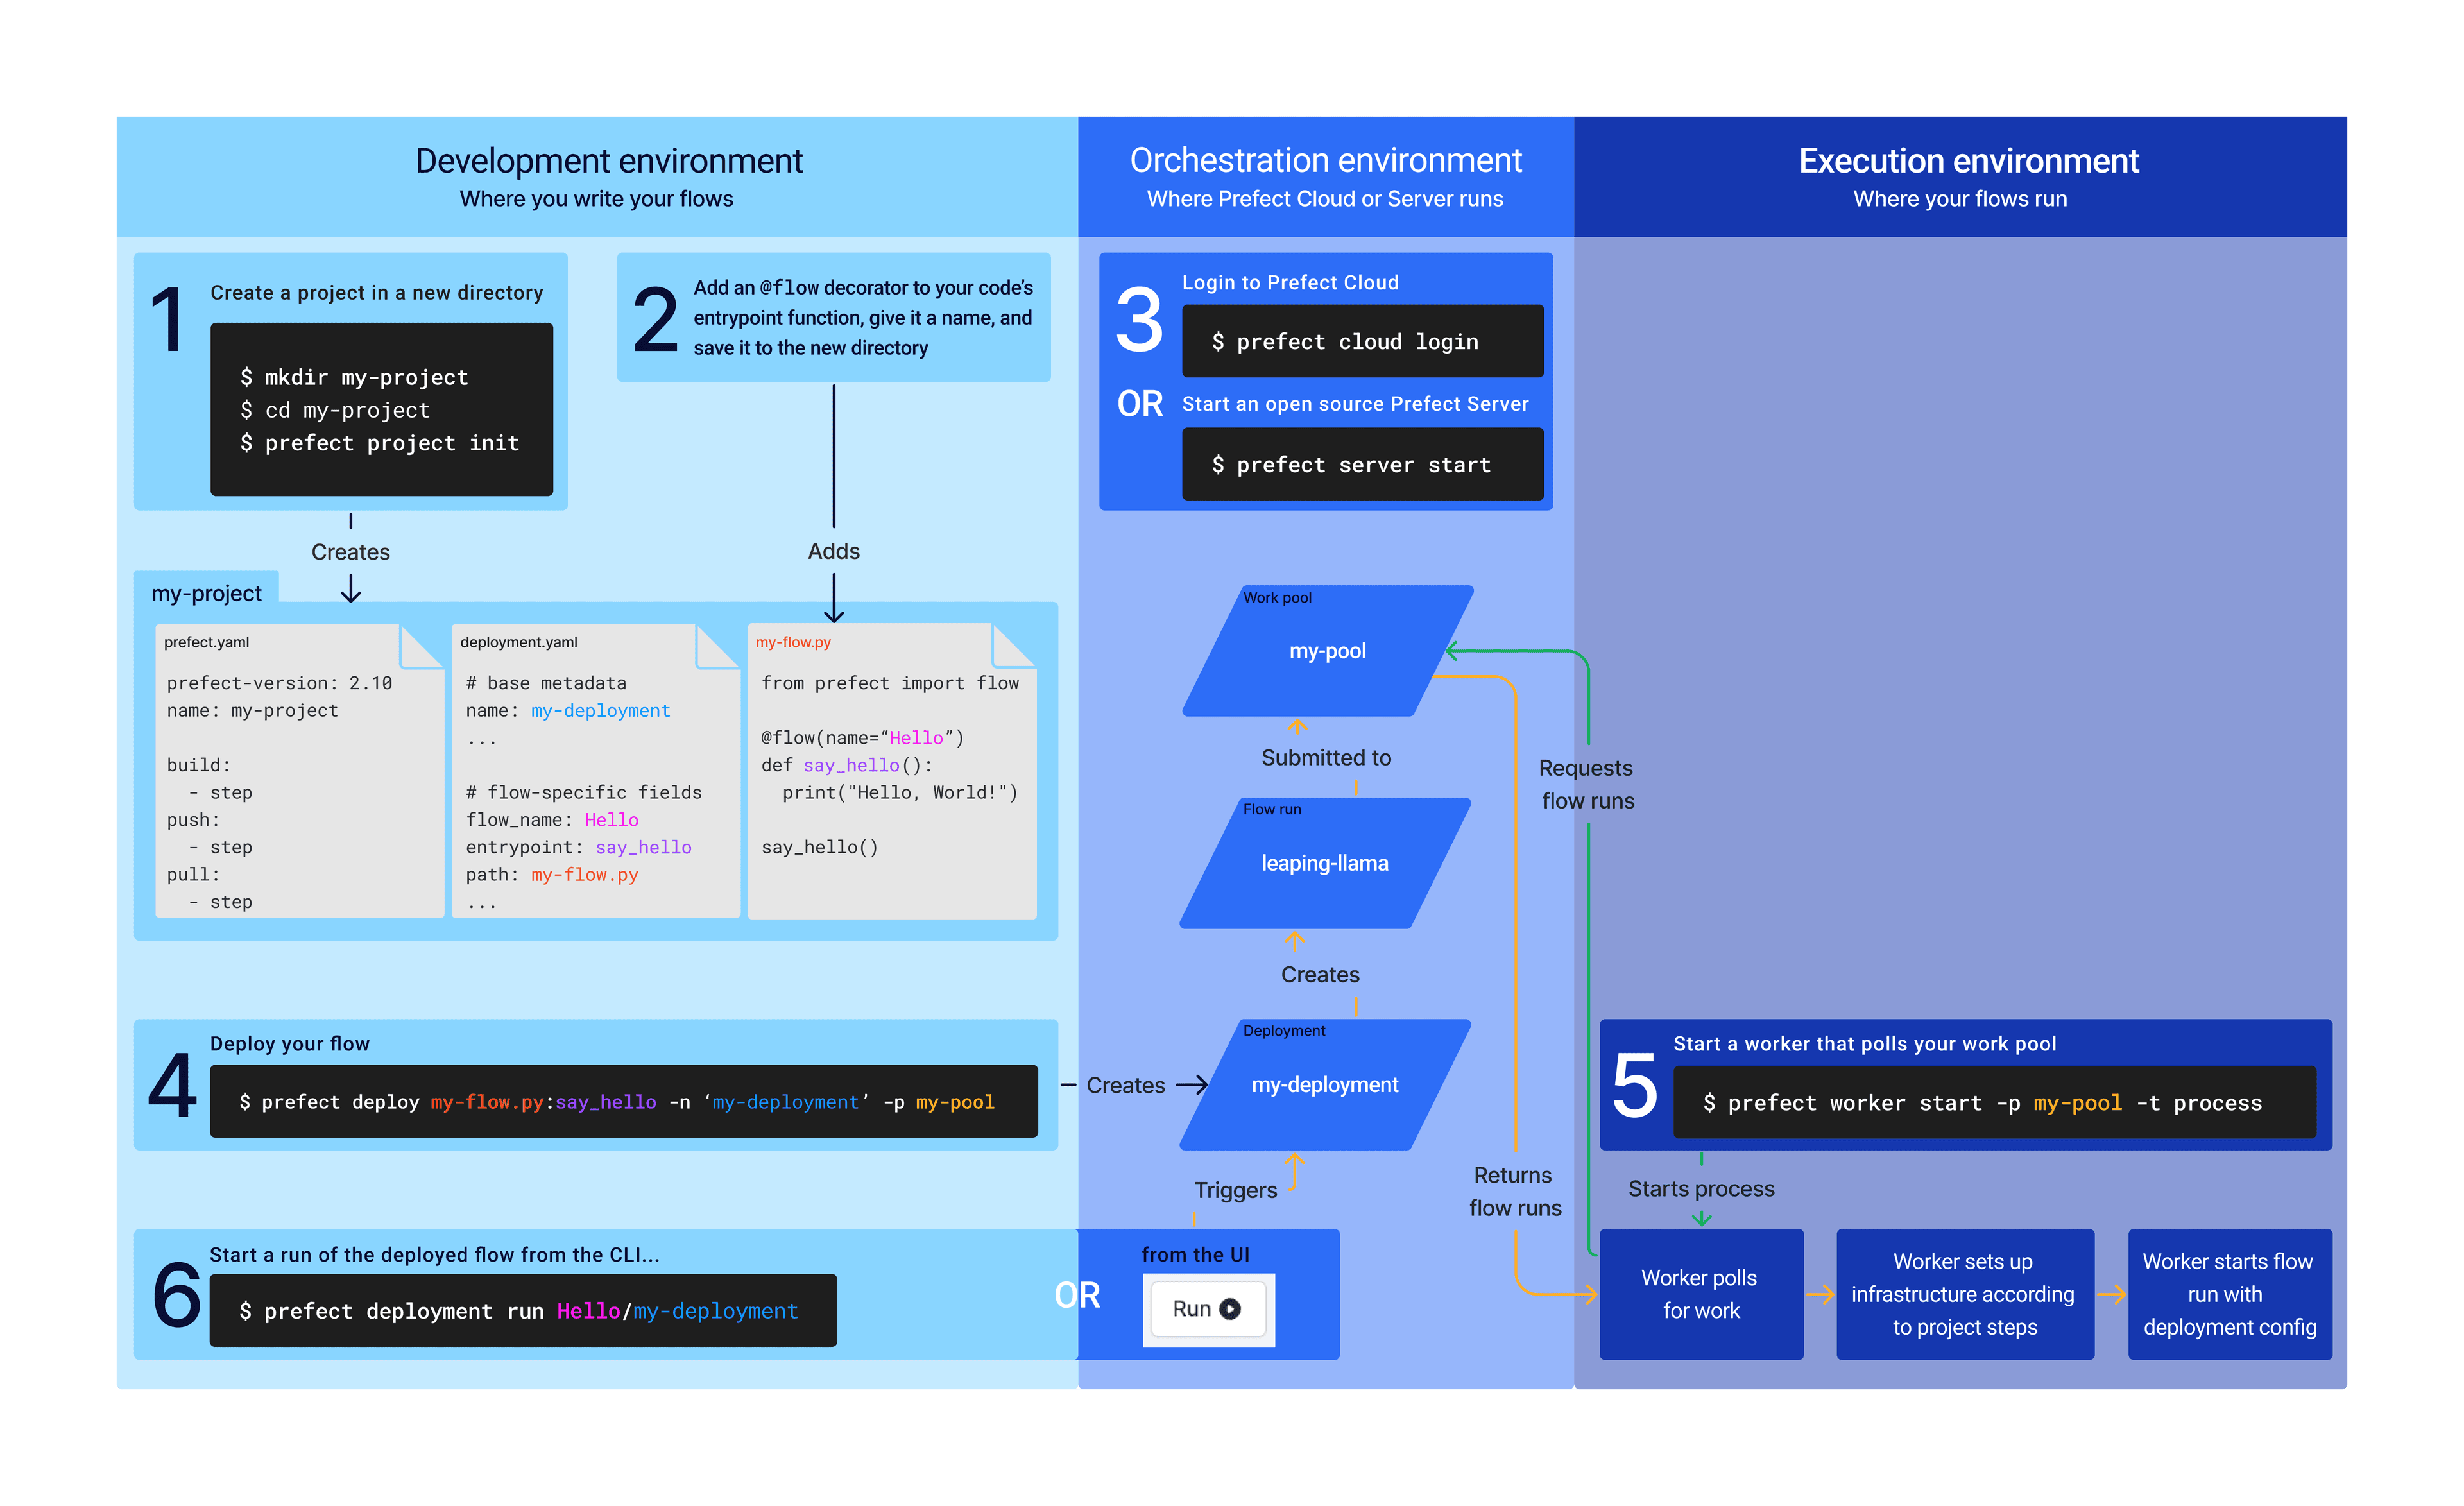
Prefect Product
Introducing Prefect Workers and Projects
April 2023

AI
Keeping Your Eyes On AI Tools
March 2023
Prefect Product
Freezing Legacy Prefect Cloud 1 Accounts
January 2023
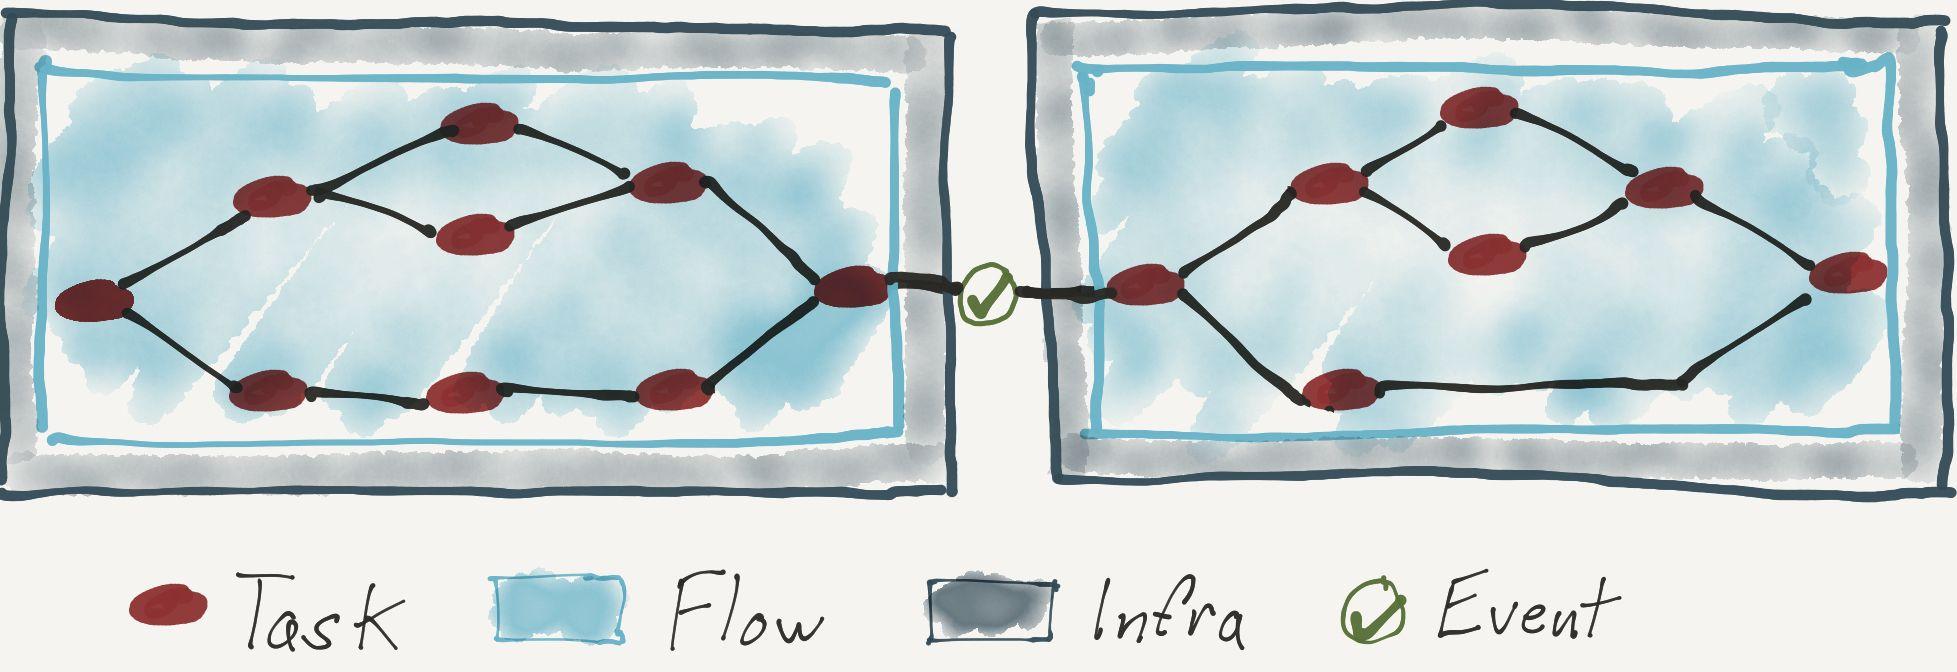
Prefect Product
Workflow Design Patterns
January 2023

Prefect Product
Expect the Unexpected
January 2023

Case Studies
Anaconda and Prefect
December 2022
Workflow Orchestration
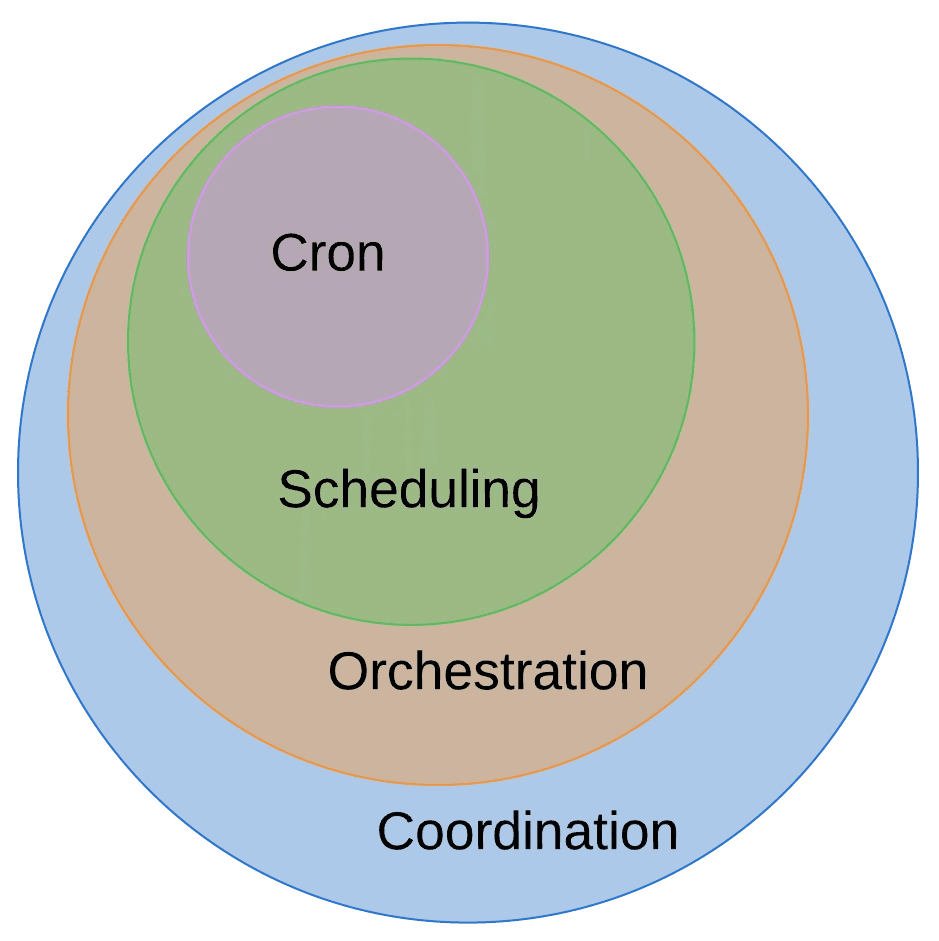
Why Not Cron?
October 2022

Workflow Orchestration
The Workflow Coordination Spectrum
September 2022
Prefect Product
If You Give a Data Engineer a Job
September 2022
Case Studies
Why Dyvenia Adopted Prefect
August 2022

Prefect Product
(Re)Introducing Prefect
July 2022

Case Studies
RTR Struts the Data Runway with Prefect
May 2022
Workflow Orchestration
A Brief History of Workflow Orchestration
April 2022
Case Studies
Washington Nationals and Prefect
February 2022
Prefect Product
Our Second-Generation Workflow Engine
October 2021
Press
Don't Panic: The Prefect Guide to Building a High Performance Team
April 2021

Workflow Orchestration
Why Not Airflow?
April 2019
Prefect Product
The Golden Spike
January 2019
